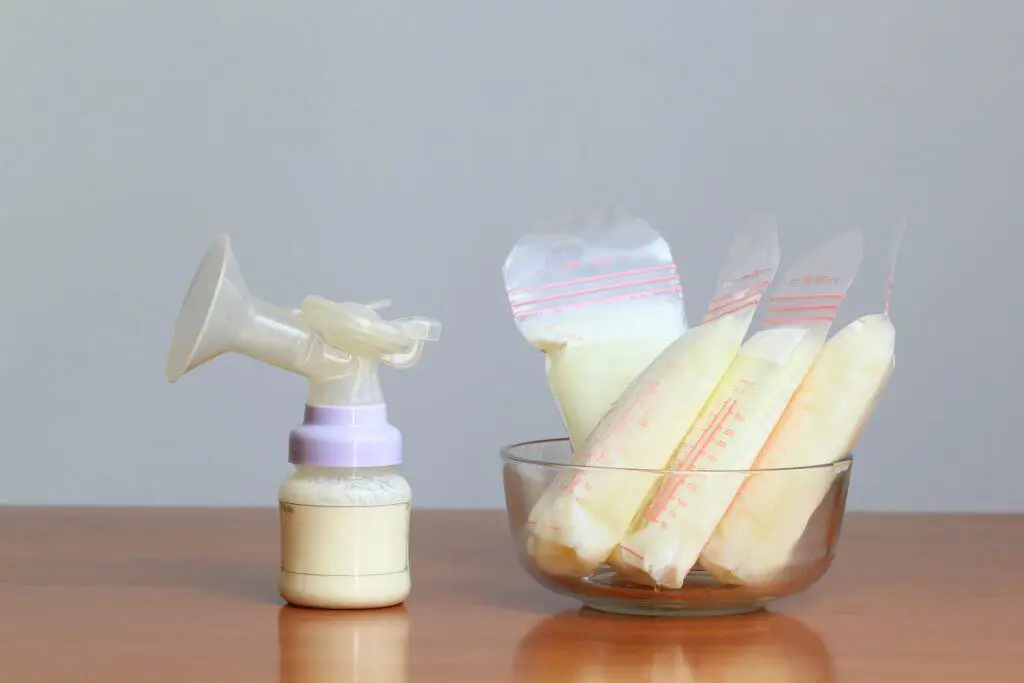
Breast milk is the most precious food for your loving baby. Breastfeeding is the best, but if your baby can’t use all the milk, storage is the best way to save your precious milk. However, improper storage of breast milk can lead to potential spoilage as well as pose risks to the baby’s health. Have you heard about the Pitcher method breast milk? This is a way of breast milk storage that is safe, and efficient while maintaining the nourishing quality of the milk.
So, join us to together discover the specifics of this method. This innovative storage will save you time and ensure a steady supply of breast milk for your little one. Keep reading because there is a lot of important information provided.
Pitcher Method For Breast Milk – What Is It?
There are many ways to store breast milk. Among them, there is one way to manage your expressed breast milk is called the Pitcher method. It involves storing expressed breast milk throughout the day in a clean pitcher with a lid, rather than many small containers (like bags, bottles, or cups). This method simplifies organization and ensures that milk is used efficiently.
Mothers will find the breast milk pitcher method particularly beneficial because they seem to pump multiple times in day. You just need to deal with only one pitcher instead of numerous milk containers as before.
Is the pitcher method safe for breast milk? Yes, it is safe if you use a good-quality pitcher container, sterilize the pitcher properly, and follow our instructions correctly.
How to Use the Pitcher Method Breast Milk

The pitcher method is easy to follow and keeps your supply of breastmilk organized. Here’s a step-by-step instruction for you:
- Step 1 – Hygiene First: Wash your hands thoroughly with soap and water. Make sure that the pitcher, surfaces, and all other equipment are clean and disinfected in the right way.
- Step 2 – Express & Collect: When everything is ready, it’s time to express your breastmilk. You can use a breast pump or hand expression to collect milk in sterile containers. If you express milk many times throughout the day, remember to refrigerate each collection first before combining them all in the pitcher. This prevents fluctuations in temperature that could compromise the quality of the breast milk.
- Step 3 – Transfer to Pitcher: At the end of the day when you finish your pumping, carefully pour all of the collected milk into the prepared pitcher. You can use a funnel for easy pouring as well as to avoid spills.
- Step 4 – Gentle Mixing: Gently swirl the pitcher to mix milk well. Avoid strong shaking because this can break down the milk’s fat content. Don’t forget to leave some space at the top of the pitcher to allow for expansion during freezing or reheating.
- Step 5 – Store The Breast Milk: You can keep the milk at room temperature for 4 hours and in the fridge for up to 4 days. Or you can divide the breast milk into sterilized containers before placing them in the freezer.
Additional Tips:
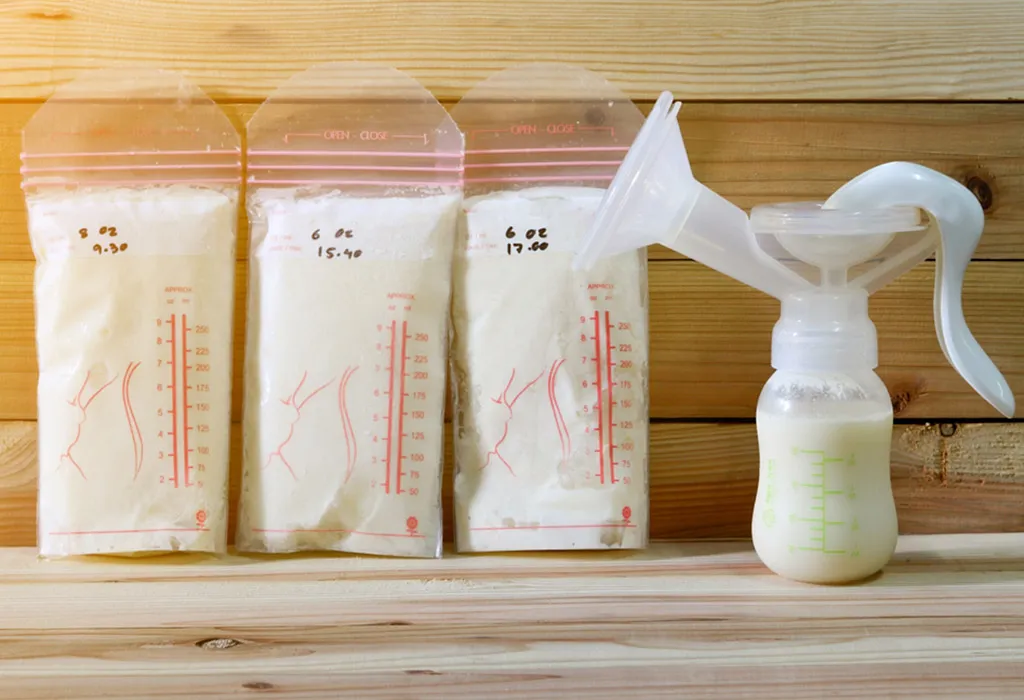
- Label Containers: Always label each frozen milk container with the date they were expressed. Labeling can help track freshness as well as help you know which one should be used first. When you need to use, thaw breast milk and feed your baby.
- High-quality Pitcher Choice: Select a food-grade, BPA-free pitcher with a tight-fitting lid to prevent leaks or contamination. Choose a size that comfortably accommodates your typical daily milk output.
- Freeze Breast Milk: If you can’t use all breast milk in 4 days, freeze it. The properties that help to slow the bad bacteria’s growth in breast milk will decline after some days in the fridge. So, the sooner you freeze breast milk, the better it is.
By following these steps, you can simplify your milk storage routine, saving time and ensuring a well-organized supply of breast milk for your baby.
3 Ways To Storage Breast Milk With Pitcher Method

After transferring all the expressed breast milk into a pitcher, there are 3 methods for you to store it. Each method of breast milk storage has rules and you need to follow them properly:
- Refrigerated: You can store breast milk in the refrigerator for up to 4 days with the temp at 4oC, or lower.
- Freezing: If your baby can’t use them all within 4 days, you need to freeze them. You can store frozen milk for up to 6 months.
- Deep Freezing: When being frozen under -20C, breast milk can be stored for a very long time, up to 12 months.
Pros & Cons of the Pitcher Method Breast Milk
Do you think this Pitcher method is suitable for you? In fact, many mothers love this method for many reasons as below:
Pros of The Pitcher Method
Space-saving
Combining all your milk into a single pitcher of course will help to free up your fridge space compared to multiple bags or baby bottles. This method is really helpful with busy and working mamas. At the end of working time, they just have only one jar of milk to carry home. Many moms opt for large mason jars to reduce plastic use.
Balanced Nutrition in Breast Milk
Mixing milk throughout the day will help ensure your baby receives a balanced intake of foremilk and hindmilk. Foremilk is high in lactose and hindmilk is high in fat. So, if your baby uses too much foremilk, this can cause lactose overload.
Lactose is a kind of sugar that the body needs to break down for full absorption, while fat will help to slow down digestion. The imbalance will make the baby uncomfortable because the digestive system is overwhelmed. So, when you combine all expressed milk throughout the day in one pitcher, this will help to distribute hindmilk and foremilk evenly.
One thing to keep in mind: The fat in the breast milk often sticks to the sides of pitchers. Use a spatula to scrape down the sides to scrape off the fat. Then, gently mix the breast milk thoroughly before transferring it into containers or bottles for feeding your baby
Cons of The Pitcher Method

Besides the advantages, some downsides make many mamas don’t want to use this Pitcher method:
Extra Steps
We mentioned above that you need to cool the newly expressed breast milk before pouring it into the refrigerated milk in the large pitcher. Many mamas just easily forget this step. That is the reason why some women don’t choose this Pitcher method.
Breast Milk Composition Changes
The Pitcher Method has its downside, which is how breast milk composition changes within the day. Researches indicate that night-produced milk contains more melatonin to induce sleep while morning milk is high in cortisol for alertness.
By transferring such components through breast milk, breastfeeding may affect babies’ circadian rhythm formation. Therefore, the timing of milk expression helps infants to receive the right milk containing melatonin during the night and cortisol during the day.
Accidents
If your breast milk pitcher is suddenly broken or dropped, you will lose all the milk you expressed during the day.
How To Choose The Right Pitcher Method Containers?

Selecting the right pitcher for storing breast milk is necessary. This will help you to maintain the quality of the milk as well as make it suitable for the space of your fridge. Here are some tips on choosing the right pitcher:
- Material: Glass and food-grade, BPA-free plastic are your best choice. These safe materials will leach no harmful chemicals into the breast milk.
- Size: Choose a pitcher that can contain around 28-64 ounces, or depending on the average amount of breast milk you express
- Lid: The pitcher should have a lid to prevent contamination and maintain the milk’s freshness.
- Easy to Clean: Look for a pitcher that is easy to disassemble and clean, preferably dishwasher-safe for convenient cleaning.
- Measurement Markings: Consider a pitcher with clear measurement markings to see the amount of breast milk stored accurately.
- Compatibility: Pick up a pitcher with a shape that can fit well in your refrigerator or freezer to optimize storage space.
By considering these factors, you can choose a suitable pitcher for storing breast milk effectively and safely.
Final Words,
Pitcher Method Breastmilk is a simple and efficient approach to store breast milk. Although there are some concerns about timing and milk composition variations throughout the day, this is still a beneficial option. Remember, the ultimate goal is to ensure the nourishment of the milk while simplifying your breast milk storage process.


